
I started obsessing over full size cabinet designs and how I might be able to build one when I saw the Arcade1UP Galaga machine in Walmart this year and thought “What a great short cut!”. It even had the display mounted on its side to get the same arcade screen ratios of the early games.
So in order to do this project you need to determine the model number of the LCD display inside the machine because you are going to need to buy a video interface board from amazon in order for it to display HDMI video. In my case that was an M170ETN01.1 [Amazon Link to Video board] To install this you need to remove the box attached to the back of the monitor. This is the actual Arcade1Up game control board and you want to unplug the video cable from it and attach it to the video board that you bought and affix it to the wood frame of the display. The video board comes with a button board you should also affix to the frame in case you need to change some video settings like contrast etc. The other board is a voltage converter for the LCD back-light which I did not need to use as the monitor had it built in. There should be a cable coming out of the monitor that will plug into the connector that would go to the board that you don’t need.
I used a Raspberry Pi 3b+ as the new brain of the machine connecting the HDMI video to the display board. I then also connected the Audio out from the video board to an amplifier that I mounted to the back of the unit. [Amazon Link to Amplifier] Cutting a hole in the back cover for it so I can reach around and set the volume bass and treble. I then mounted speakers to the panel that goes on the top of the cabinet. [Amazon Link to Speakers]
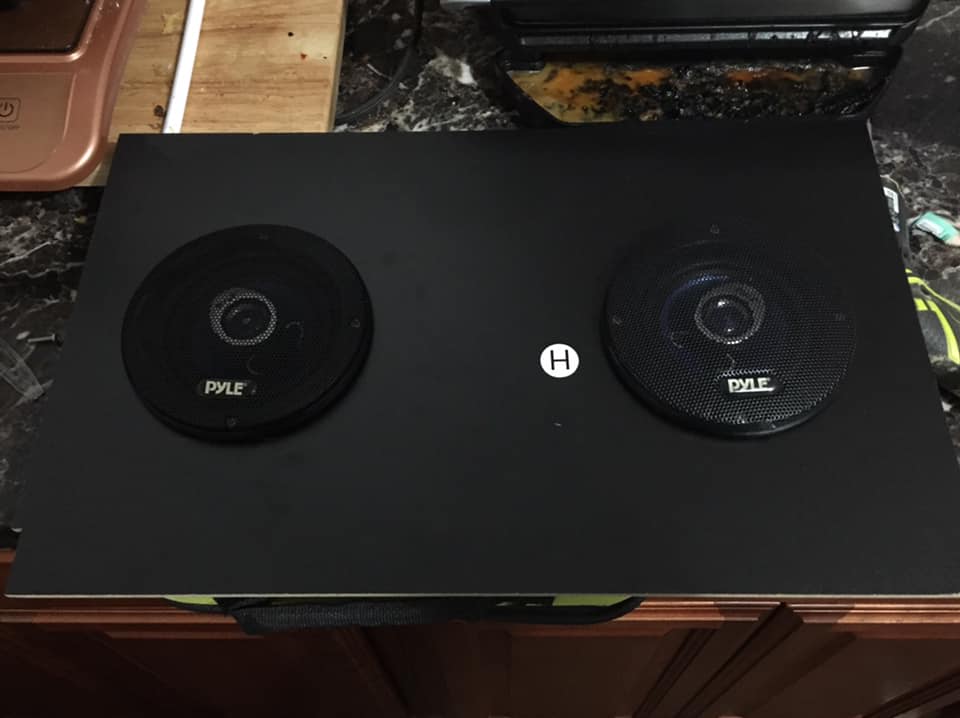
I should specify that I thought out and mounted the amplifier and speakers BEFORE assembling the cabinet. You could do it after building the cabinet but it might make things harder. Also a note about the Raspberry Pi. You are going to want to use the Retro-pie image for your machine; however, this does not come with any actual game ROMs installed so you will need to find these on your own on the internet or find an already populated Retro-pie Image.
To be continued…